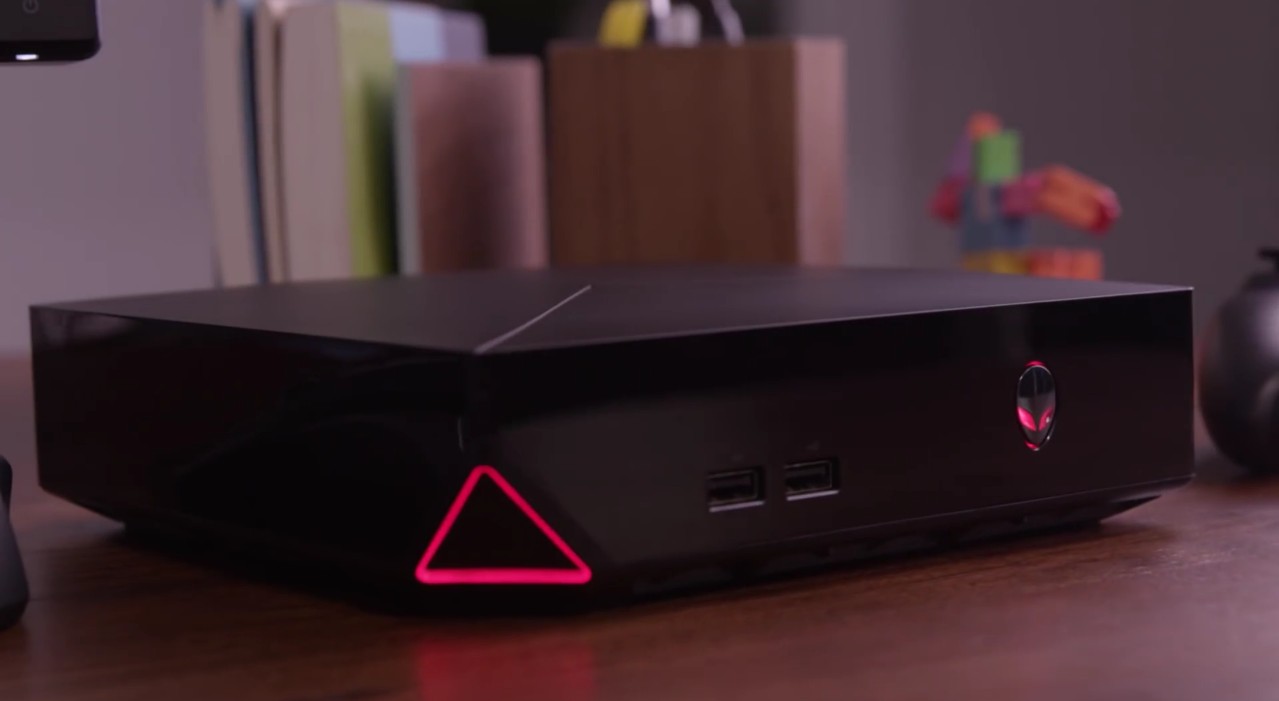
We’ve covered the Alienware Alpha quite a bit, including a formal review. Several of us on staff have been enjoying this micro PC for a number of reasons. But if you purchased the lower-end model which features an Intel Core i3 processor and 4GB of RAM, you’re going to want to update that bad boy, especially if you now find yourself with a large Steam library of processor-heavy games.
Thankfully, the CPU and RAM are easy to upgrade on the Alpha, especially when compared to how difficult it can be to upgrade a full-sized PC. Alienware sent us a new CPU and RAM to upgrade our office Alpha to help us work on this feature, so let’s open it up and see if the experience lives up to its promised ease-of-use.

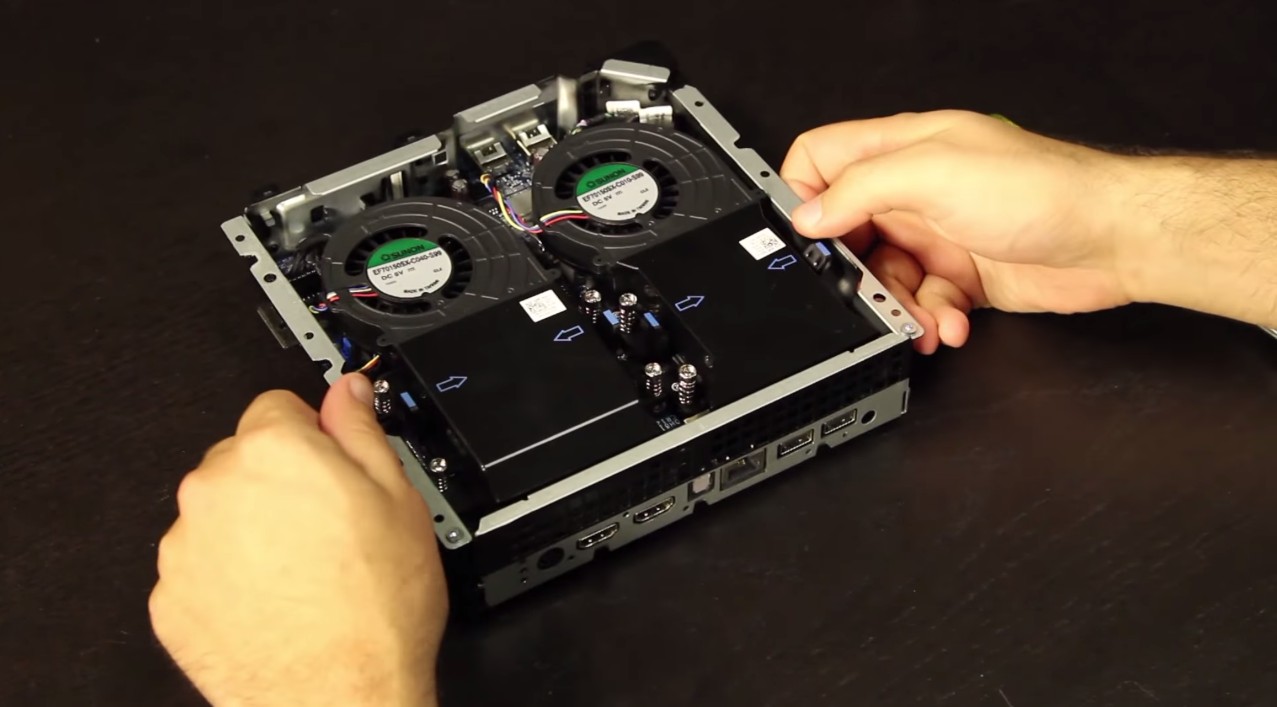
First, we’re going to need to open the Alpha up. Located at the bottom corners of the PC are four easy-to-spot Phillips screws. Once those are removed, we flipped over the Alpha and slid off its base. The first thing we see inside of the Alpha are two fans that cover its heatsinks and RAM, which are removable by applying pressure to small plastic tabs located at its sides.

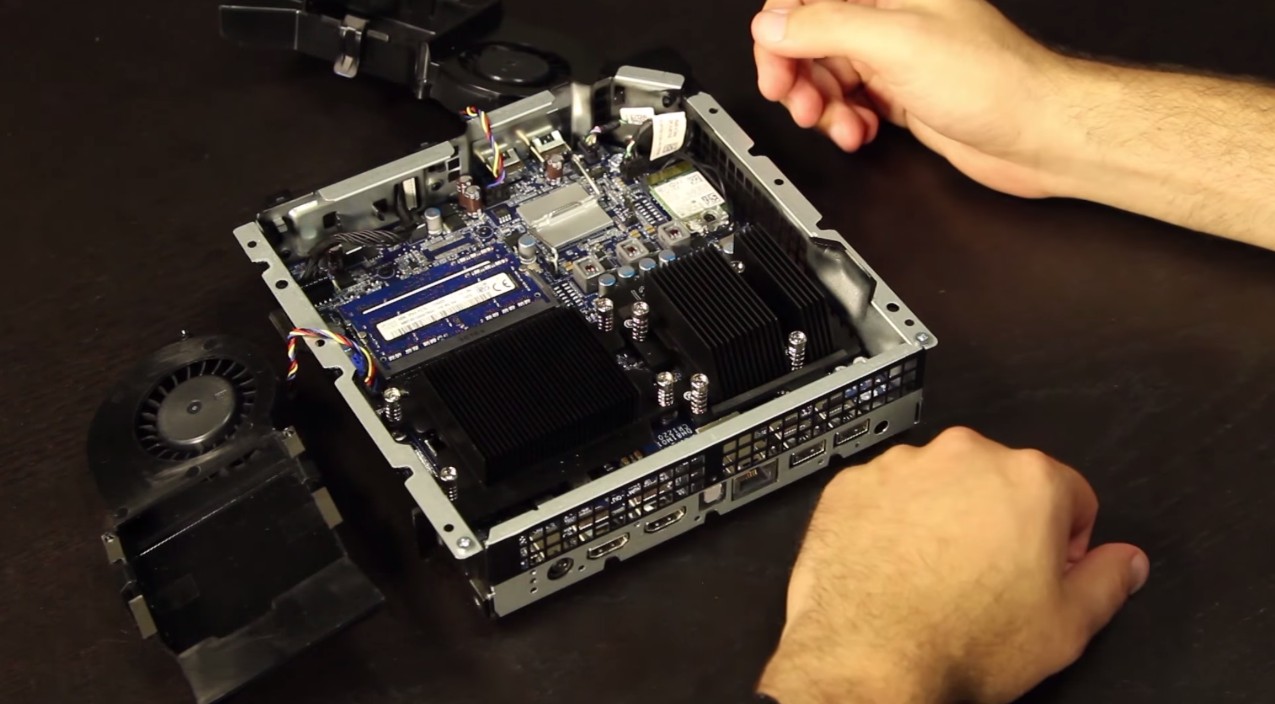
After removing those, we gain access to the Alpha’s CPU and RAM, which are located towards the left side of the case. To remove the CPU, we remove four Phillips screws securing the heatsink to the processor. Then, we lift a small wire next to the chassis for processor that holds it in place, and out comes the CPU. To install the CPU, we’d have to go through the standard process of installing it that we’d go through when working with any desktop, which involves the use of thermal paste and all that, so we’ll fast forward and move on to replacing the RAM.
The RAM is located inches above the CPU in easy-to-find brackets. Applying pressure on each stick of RAM pops them up at an angle, which allows them to be easily removed. Once they’re out, we slide in two 4GB sticks in each bracket, push them in, and we’re good to go.
Once we upgraded both the RAM and CPU, we worked our way backwards as we put the heatsink above the CPU back, put back each fan, and then close the case. To access the hard drive, we flip over the Alpha and remove its bottom cover, where its drive is sitting. Above the drive, there’s a Phillips screw that holds the hard drive cage in. Once removed, the drive can be slid forward and its cage can then be popped up. We can then replace the Alpha’s hard drive with any 2.5” internal hard drive, which is normally found in laptops and even on the PlayStation 4.

And there you have it. We now have an Alpha with an upgraded CPU, RAM, and hard drive. We've upgraded PCs in the past, but we have to say upgrading them on the Alpha was a breeze. Unfortunately, we're unable to upgrade its custom-built GPU to something more powerful, but after upgrading our CPU and RAM, we think it's ability is adequete to play a number of new games at high quality.
No comments:
Post a Comment